Easy Warm and Cool Colors Art Lesson Sun Moon
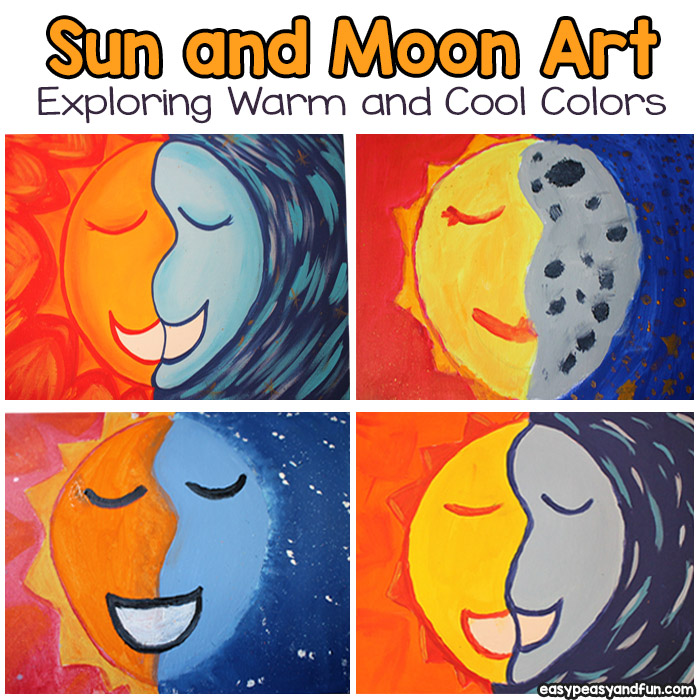
Explore warm and cool colors with this Sun and Moon Painting art lesson.
This sun and moon painting tutorial is one of the best projects when it comes to teaching the kids about warm and cool colors and the end result will always fill them with pride.

*this post contains affiliate links*
Teaching kids' art lessons in the home, or in a classroom can really sound like more of a daunting task than it is. One thing to know first is who your class is and how much art they have had prior to your teaching them.
Whether it is just your own children in a homeschool class, or a whole group, there are some basic things you will want to cover,whether it be right away, or just sometime in your year. One of those is warm and cool colors.
Most schools that have art classes will have taught this at some point, but if it is not used regularly, they may have forgotten it.
Tips on How to Teach Warm and Cool Colors and Differences
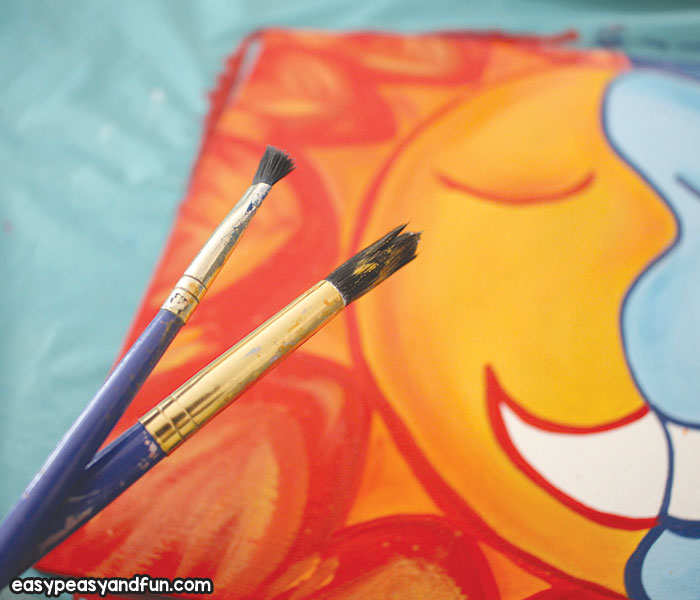
If the kids you are teaching are younger, like preschool to say, kindergarten, first grade, it will likely be the first time they've heard it, so I would just ask them and if they do know about it, use that to help you teach the lesson by asking them questions as you teach.
If they are older, use it as a refresher and to show them how to use it as a tool when creating their own artworks.
Ask questions to help them understand
I started my lesson for all the age groups I teach, which covers preschool all the way through seven and eighth graders, by asking if they had learned it before, and if so, what they remembered about it.
Then, I asked them things like, "If I say to picture the color red, what temperature would it bring to your mind?" or asking them to tell me what colors are in nature and what temperature they think those colors would be.
Then, go over the basics – Warm colors are going to be red, orange, yellow shades, and cool are going to be blue and purple shades. Green can go either way truly, depending on the shade of it, so a bright spring green is more on the warm side where a darker green is on the cooler one. It falls in the middle.
Also, cover pink, it would tend to be a warm color, like in a sunset. Describing the colors of fire helps illustrate the warm ones, where the night sky helps illustrate the cool ones. This is where the sun and moon painting comes into play.
Let's Paint
So once you have covered this, you can go on to the painting part of the class and you will want to have the canvases or canvas boards, whichever you choose, already traced for them if possible, so they don't end up spending time drawing too long, or stressing out about getting it right, and miss out on the color part, which is the point of the lesson.
Drawing the Sun and The Moon
If you will only focus on the cool or warm colors or have limited time, you can prepare the sun and moon drawings and have the students only do the coloring.
Canvases or canvas boards (which are less expensive but work just as well, they just don't have the wooden base inside of them.)
- Pencil
- Tracing paper
- Transfer paper
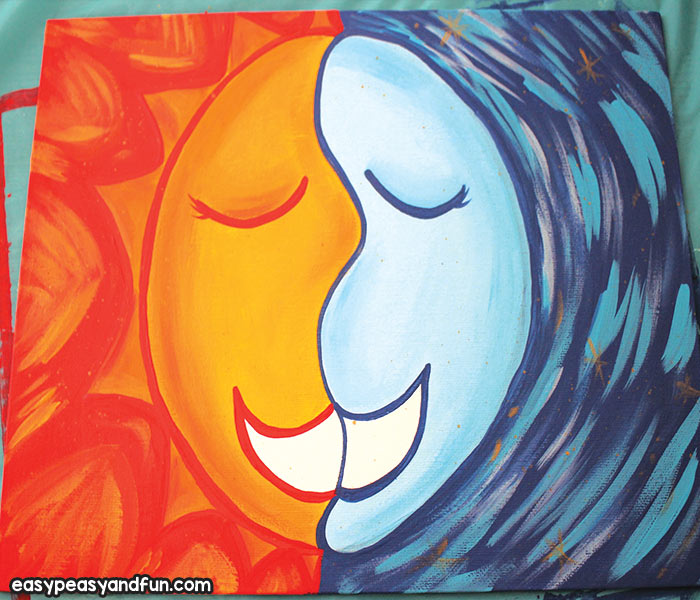
Draw the first example on one canvas until you get it the design you want. If you feel worried about this, start with a circle and divide it in half. I made my center line wavy to represent a nose on both the sun and the moon, but that part is up to you. Then, draw in an eye on both and a mouth line. The eyes can be open or closed. Add triangular shapes for the points on the sun side.
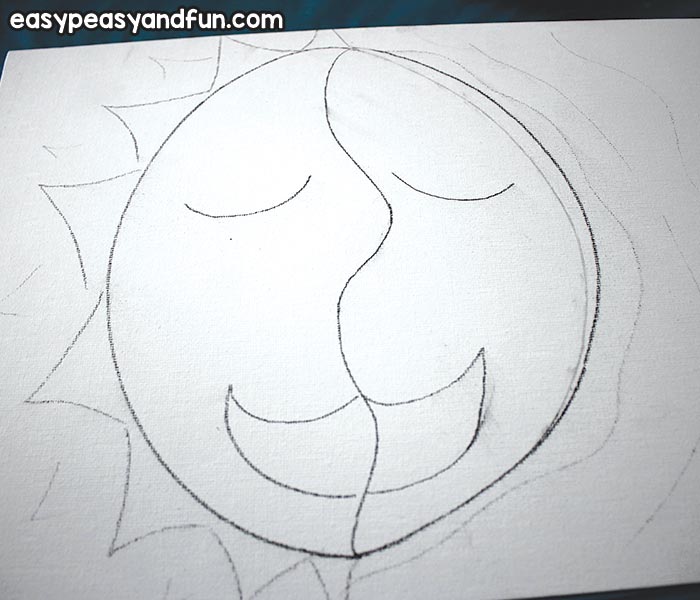
Next, use tracing paper and trace your design on it so that you can easily duplicate it for the rest of them. (If you only are teaching 2 or 3 kids, this step may not be worth your time, and it might be easier to just draw all of them on the canvases yourself.)
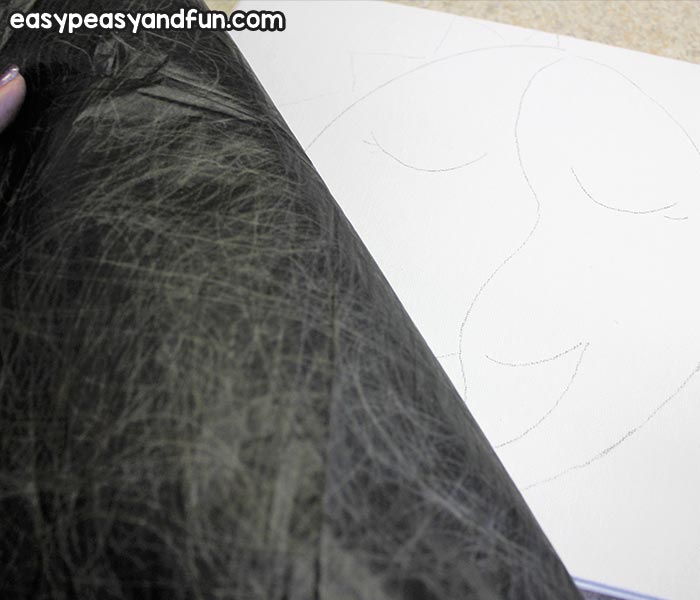
Now, use the transfer paper and line up both it and the tracing paper over the blank canvas, then trace the image so it transfers on to it. Repeat on as many canvases as you need. I recommend putting down a disposable table cloth on the table they will be painting on and having them wear a cover up as well.
Sun and Moon Painting
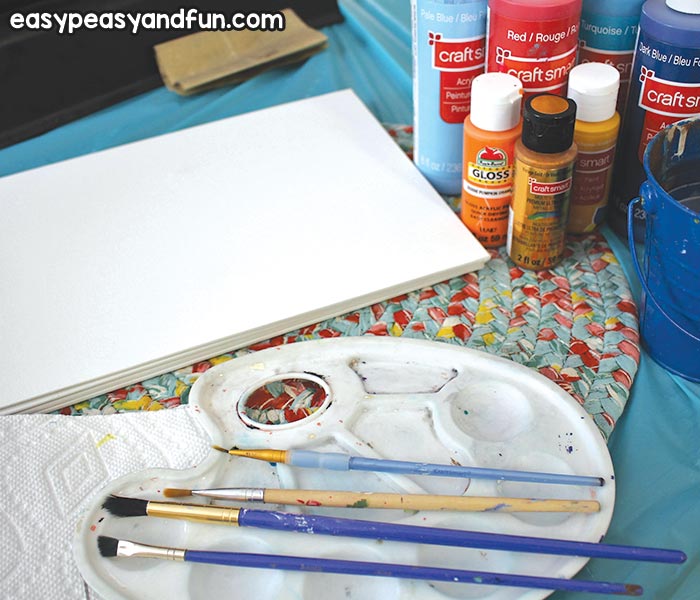
For a maximum art experience, and if you have enough time, have the kids each make their own sun and moon drawing.
For painting the canvas your students will need:
- paint palette or per plates
- paper towels
- paint cup with water
- brushes in a few sizes
- Acrylic paints in the following colors: Red, orange, yellow, hot pink, black, navy or dark blue, turquoise, light blue, white and gold
Optional colors if you want to let them have a few more choices:
Purple in dark shade and light shade, greens, light pink, gray, light yellow
Lesson Instructions
Start by having them choose their paint colors before you pour, unless you want to just simplify by giving them all the same colors. I did this for my younger class and it worked fine. Some of them didn't use every color, but there was limited drama because of this.
This part of the class will take a few minutes, so just prep them by telling them that once you pour the paint and give just a quick instruction, they can go at it.
Now, have them choose either side, sun or moon to start on, and be sure to tell them that the point is to keep warm colors on one side and cool on the other.
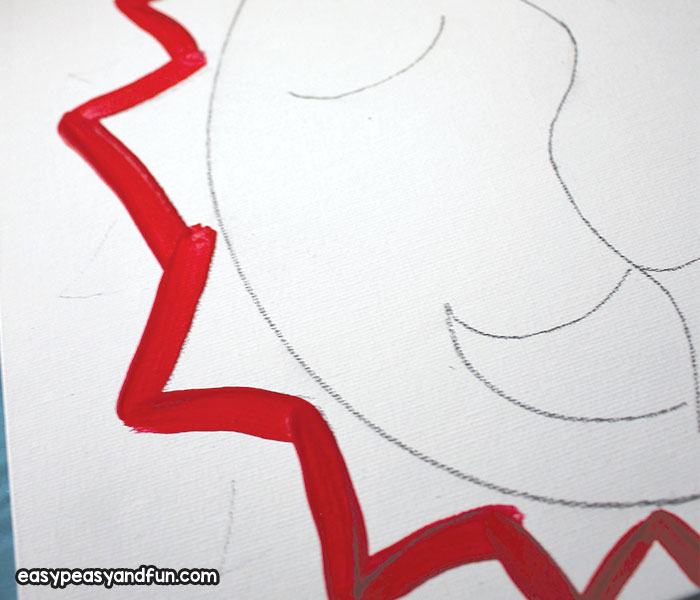
It is best to paint one sky at a time and get them both done first, at least the first coat, so it has time to dry some and if it needs a second coat, you can get that done.
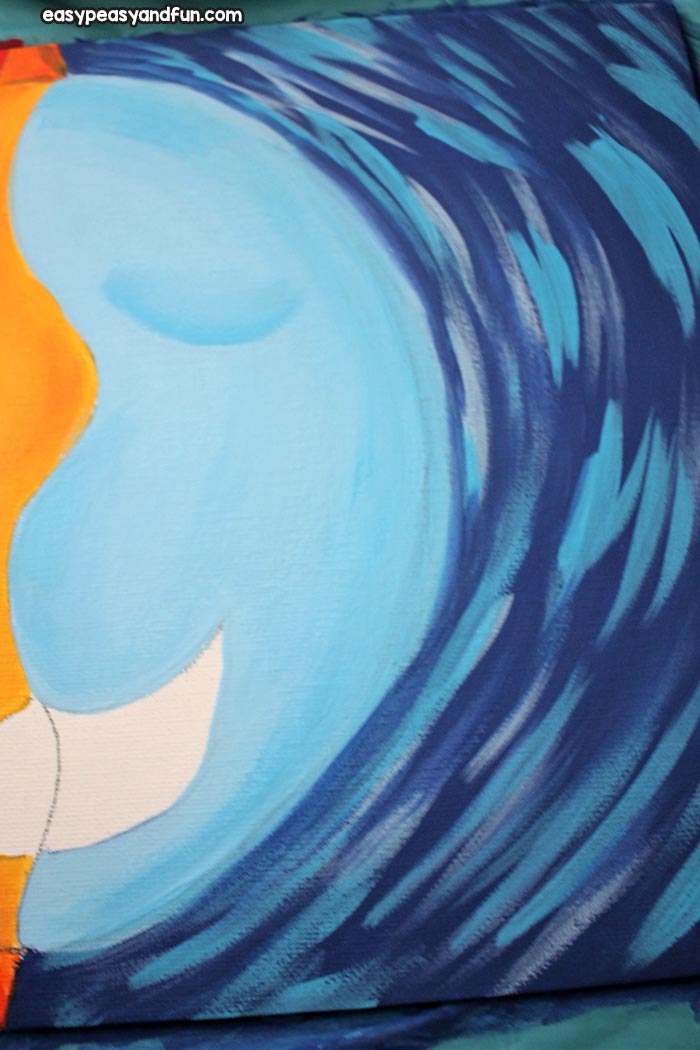
They can use a skinny brush to outline the outside of the sun or moon in the sky color they chose, and then once they have established those lines, they can use a larger one to paint in the sky. It will go faster and create less brush strokes. Some kids may not catch that instruction, so if you see them trying to paint the sky with a tiny brush, have them switch it out.
While the first coat is setting in, have them switch sides and do the other sky. Then from there, they can start the sun and moon, and if by the time those are painted, they need another sky coat, have them do that so it is dry when it's time to paint details on it.
Color the sky
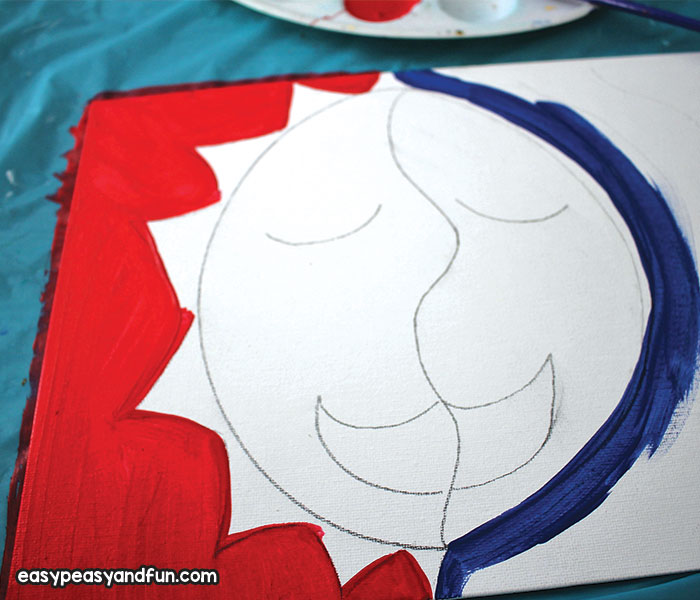
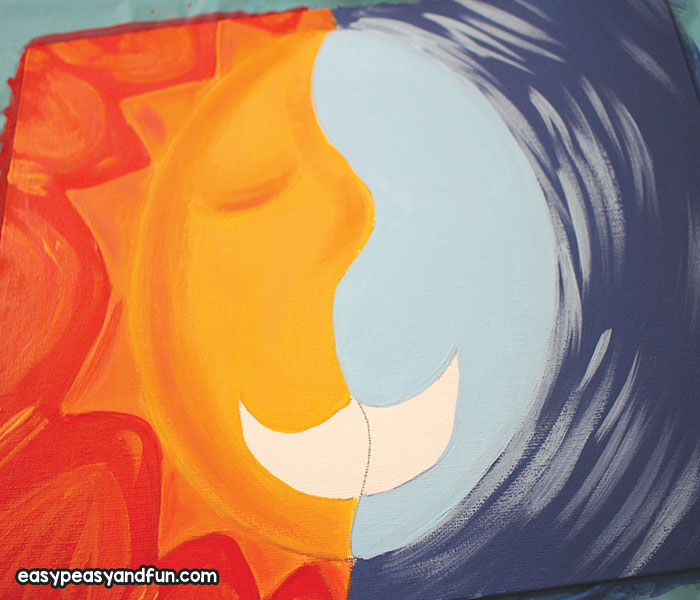
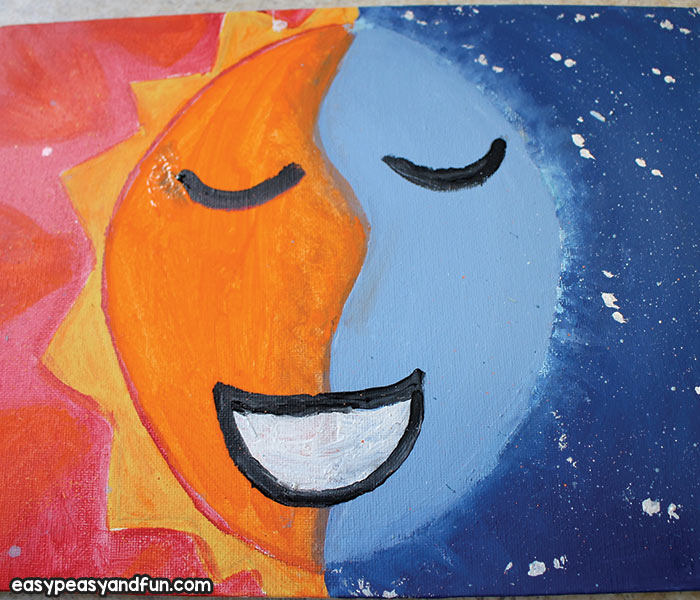
If they choose an open mouth, they can leave that area unpainted and just white. No need to paint it white.

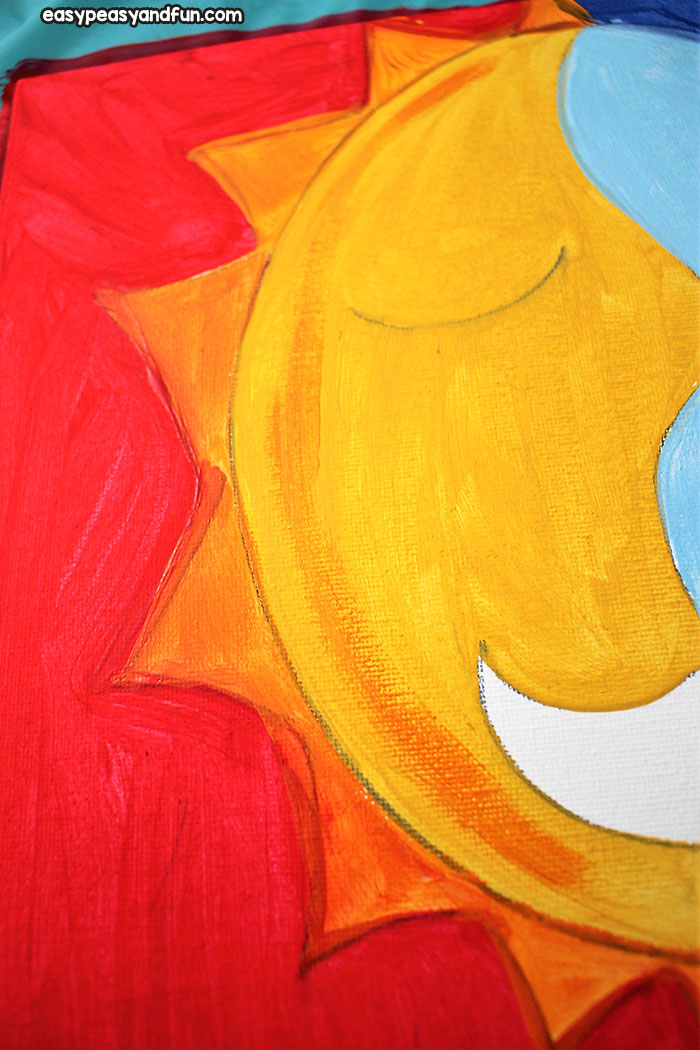
Once the sky is dry, check the sun and moon to see if they need a second coat as well. I tell them that if they can see white canvas poking through, or a lot of brush strokes, then they need another coat.
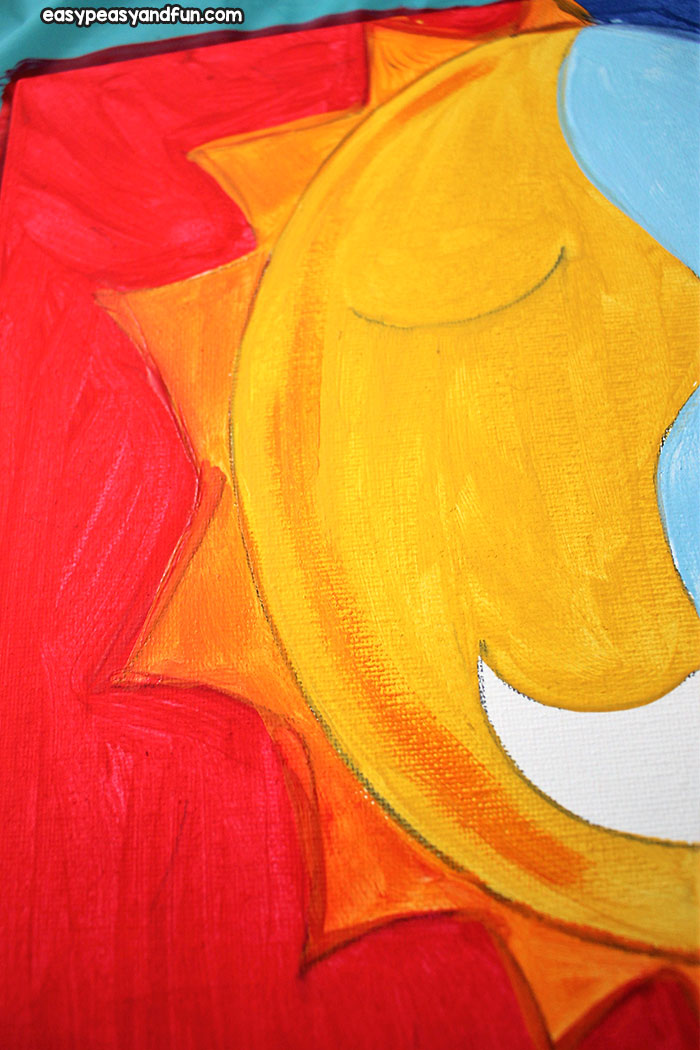
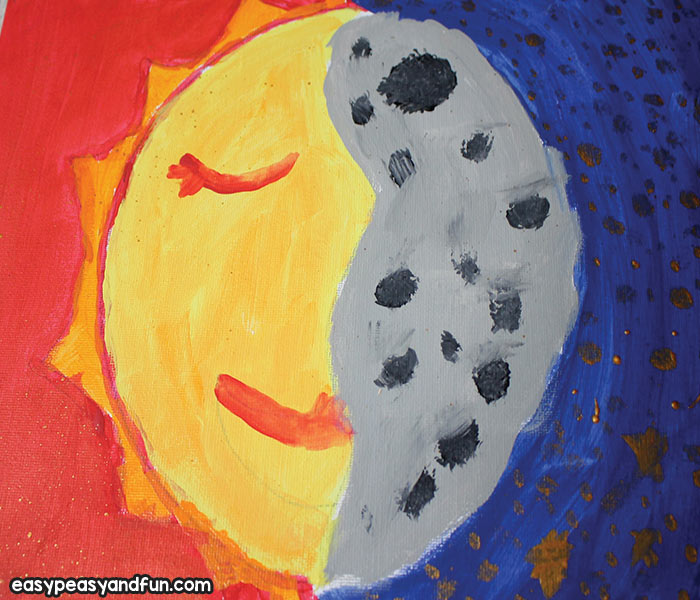
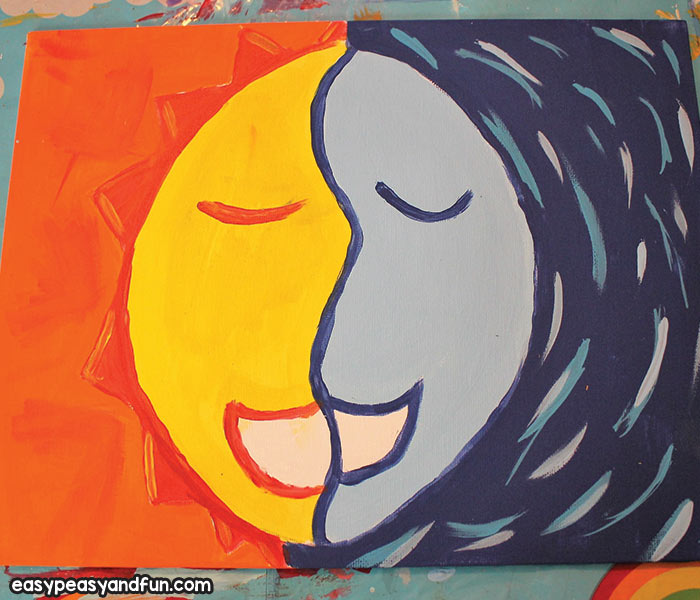
Last part is to fill in details like reflection strokes in the moon sky, and tips of the sun, as well as the face details. This part is where they get creative and add their own touches. They may ask for help, but most of the kids I taught did their own thing. Adding lines between the tips of the sun and in multiple shades of blue on the moon sky adds some movement.
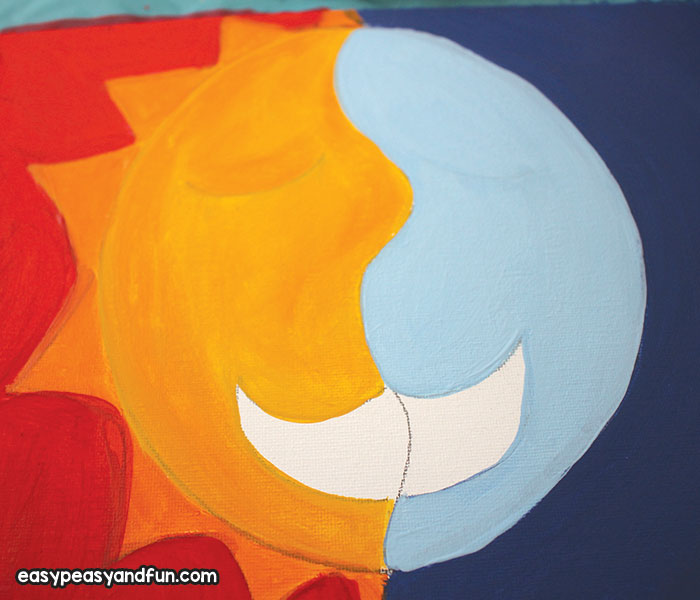
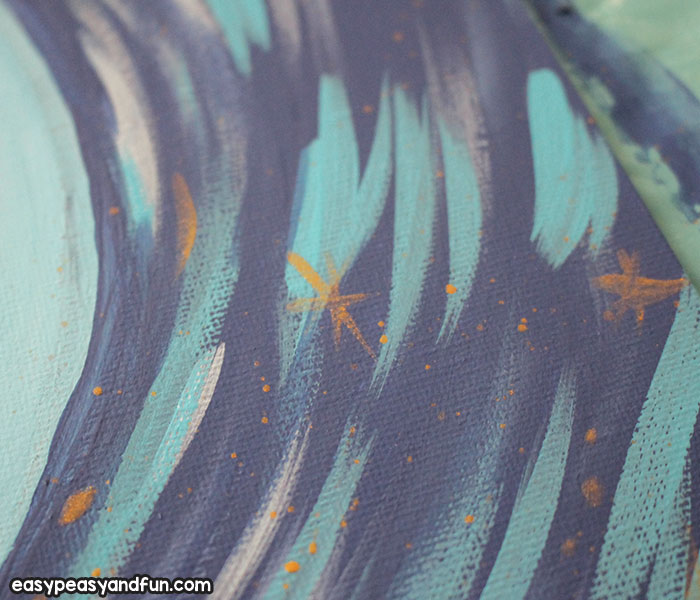
The gold if they choose it is to add little stars to the moon side and accents to the sun tips, and if you want to do a little splatter paint to finalize it, that looks great too.

To add the splatter – take small amount of water and a little gold paint and mix together off to the side on the plate. You don't want it dripping wet, but more thinned out than the paint is alone. Then, hold the brush over the painting, with the painting laying flat on the table, facing up. Use a larger brush to tap the brush with the paint and move around the canvas to spread it around as you desire.

It gives the Sun and Moon Painting a little pop and finishes it off nicely. Encourage them to add their own touches and make it their own and not to feel like it has to look like yours (If you paint a sample, that is.)
Sun and Moon Art
Also check:
- night and day agamograph
- pop art lesson
Unlock VIP Printables - Become a Member
 Become a member of Easy Peasy and Fun membership and gain access to our exclusive craft templates and educational printables. With brand new resources added on weekly basis you will never run out of fun things to make with your kids (either as a parent or as a teacher).
Source: https://www.easypeasyandfun.com/sun-and-moon-painting/
0 Response to "Easy Warm and Cool Colors Art Lesson Sun Moon"
Post a Comment